How to Make a Spider in Photoshop
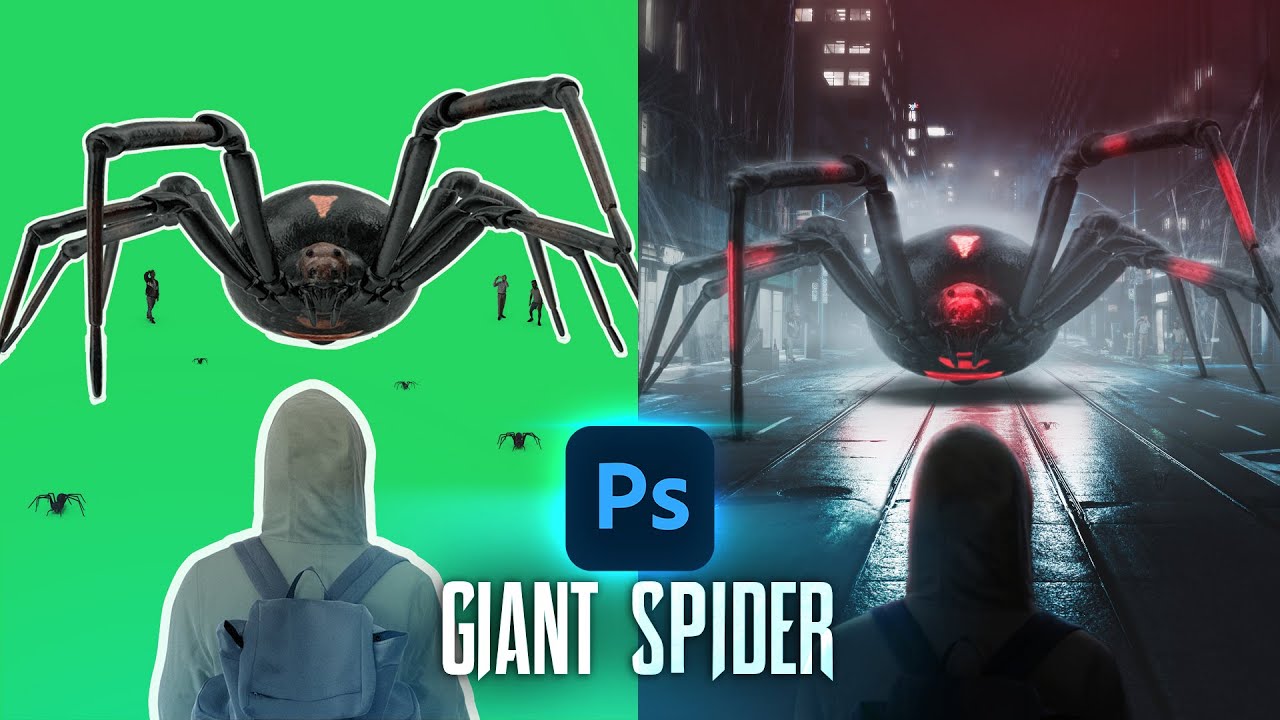 Today I will be teaching you how to make a spider in Photoshop. This is a very fun lesson for anyone who likes spiders. I personally do not like them. This lesson can be done in Photoshop 6.0 and above. Start by opening a new file. To open a new file click on file new. Make the size of the new file 500 by 400 pixels. Next we need to switch to RGB mode. Click on image, mode, and then RGB mode. It's very important to work in RGB mode so that you will see color in Photoshop. Next create a new layer to work with. Set your foreground color to black. You need to set your foreground color to black, because this will be the color of your spider. Yes you will be creating a black widow. Click on the shape tool and select the ellipse tool. Next click and drag to create the main part of the spider. Click and create a new layer to work with. Click the shape tool and select the ellipse tool. Next click and drag to create the 2nd part of the spider. This will be the part of top of the big belly. You can look at the example image I included with this lesson, to see how the spider should look. You will now see the spider is coming to life. The next step will be creating the legs of the spider.
Click and create a new layer to work with. This will be the layer you will draw the spider's legs on. Set your foreground color to black. Next click and select the paintbrush tool. Set the size of the paintbrush to 13. Click and draw the eight legs of the spider. Use the paintbrush to add some eyes to the spider. Next click on the body of the spider. Then click layer, layer style, and bevel and emboss. Set the style to inner bevel and the technique to smooth. Set the depth to 181% and the direction to up. Set the size to 43 px and the soften to 3 px. After you added all these settings click ok. Next click on layer, layer style, and then copy layer style. Now click back on the small part of the spider. Then click layer, layer style, and then paste layer style. Now all the effects you applied to the first layer will be on the new one. Now we can add a red belly to the black widow spider. First create a new layer to work with. Then set your foreground color to red. Next click on the shape tool and select the ellipse tool. Click and create the red belly of the spider. You have just created a spider in Photoshop. I hope you enjoyed this lesson and have a great day!