Online photography lesson – How to take stunning landscape and nature photographs
Taking landscape images often presents many challenges to the photographer Landscapes are huge and the main problem is how to capture so much in an image? How do you capture the sense of openness, the movement, the feeling and the overall mood? Achieving these takes practice and experience, and before addressing these issues it is important to master the basics and get an interesting image that is sharp and well exposed. As well as having the right equipment when taking landscape shots it is important to;
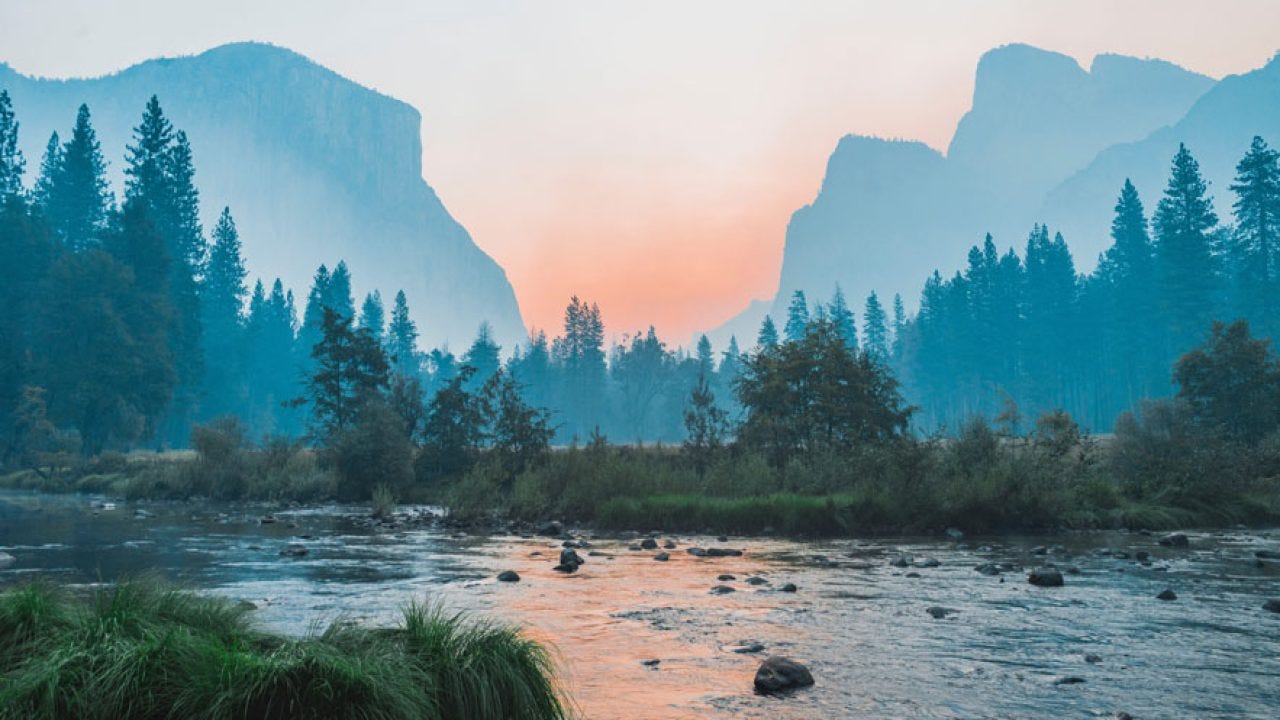
Every landscape image should have a focal point, i.e. something that the eye is naturally drawn to. Simply pointing the camera at a landscape and pressing the shutter button is not the way to achieve good landscape shots, although you may be lucky on occasions. Seek out a focal point and frame it. The focal point can be anything, such as a tree, a rock, a bush, a stone wall etc. the subject matter doesn’t make that much difference, providing it attracts the eye and adds some interest.
In many instances having a single focal point is not enough and interesting landscape images will have both foreground and background interest. For example, the focal point may be a rock in the foreground (hence adding some interest) and the background may consist of a high reaching mountain range or a lush pine forest, both of which will add the background interest. If the rock in the foreground was simply shot against a blue sky would the image be as interesting?
Placing the focal point in the middle of the frame often leads to a boring image therefore it is important to consider composition. Many landscape photographers use the rule of thirds to frame the shot. The rule of thirds is where the frame is divided in to nine squares and the subject is placed where vertical and horizontal lines intersect, i.e. off centre, which produces a more aesthetically pleasing image.
In most circumstances landscape photographers will want to maximise the depth of field to ensure ultimate sharpness throughout the whole image. Narrow apertures are required to achieve the maximum depth of field, and it is not uncommon for landscape photographers to use settings of f/16 or f/22. Whilst a narrow aperture is best it is important not to overdo it and go too narrow as the image quality will suffer as a result, and using the lens’ narrowest aperture will be where the degradation in quality is at its highest. Different lenses will have different narrowest apertures and whilst some can be used at f/22 and still achieve good images some cannot, so check your lens before stopping it down.
Using narrow apertures will reduce shutter speeds, often to the point where camera shake will prevent sharp hand held shots. In these situations the images should be taken with the camera mounted to a stable tripod. The tripod is the landscape photographer’s best friend so make sure you buy the best one you can afford. Buying a cheap tripod on the basis of “it is only a support” appears to be a mistake that many amateur photographers make, and it is a costly one as a good quality replacement tripod will be needed in the future.
The action of manually pressing the shutter button during long exposures can lead to blurry images through camera shake. In addition, there is also the possibility of nudging in to the camera or the tripod, resulting in movement and blurry images. The best way of overcoming this is to use a remote shutter release, either wired or wireless, to take the image. Shutter releases aren’t expensive and they are a tool that all landscape photographers should have in their kit bag.
Mirror movement in the camera, something the photographer has little control of, may lead to blurry images during long exposures. Many cameras have a mirror lock up feature that can be turned on or off, reducing the chances of blurry images. If the camera has this feature, turn it on and lock the mirror when taking landscape images. Different cameras will have the mirror lock up feature in different places so read the manual and find the one that is specific for your particular model of camera.
Getting the exposure right is often difficult in landscape photography. There are often times when the photographer is faced with bright blue skies and dark foreground, which may lead to a correctly exposed foreground and over exposed and washed out sky, or a correctly exposed sky and an under exposed foreground. Alternatively, a photographer may be faced with highly reflective water, snow or beach scenes all of which can affect the camera’s internal meter.
In difficult situations it is worth bracketing the shot to ensure that one is exposed how you want it to be. Some photographers may consider this cheating, but it is better to take several shots at different exposures and get a great shot as opposed to taking a single shot and missing it altogether.
Many landscape photographers like to use a wide angle lens, such as the Canon EF 16mm – 35mm f/2.8L II USM, in order to ensure the maximum amount of landscape is included in the frame. In many circumstances, getting as much in the frame as possible works fine, however there are times when more interesting images are obtained by zooming in a small part of the landscape. In these circumstances it a zoom lens is useful such as Cannon’s EF 70mm – 200mm f/4 L IS USM.
Most landscape images are taken with the camera on a tripod, therefore fast lenses and/or lenses with image stabilisation are not essential.
- i) Identify a focal point and use lead in lines wherever possible.
- ii) Ensure the camera is securely attached to a tripod
iii) Use a narrow aperture, but don’t overdo it
- iv) Ensure the mirror is locked up (if your camera allows it) and use a remote shutter release
- v) If you are unsure about exposure in difficult lighting conditions bracket the shot