How to Take Better Digital Photographs: Improving your Digital Pictures in Ten Simple Steps
Embrace the technology that digital photography affords and the reward will be in the form of better pictures! Whether it's family, events or vacations, following these 10 simple steps will result in the perfect picture every time.
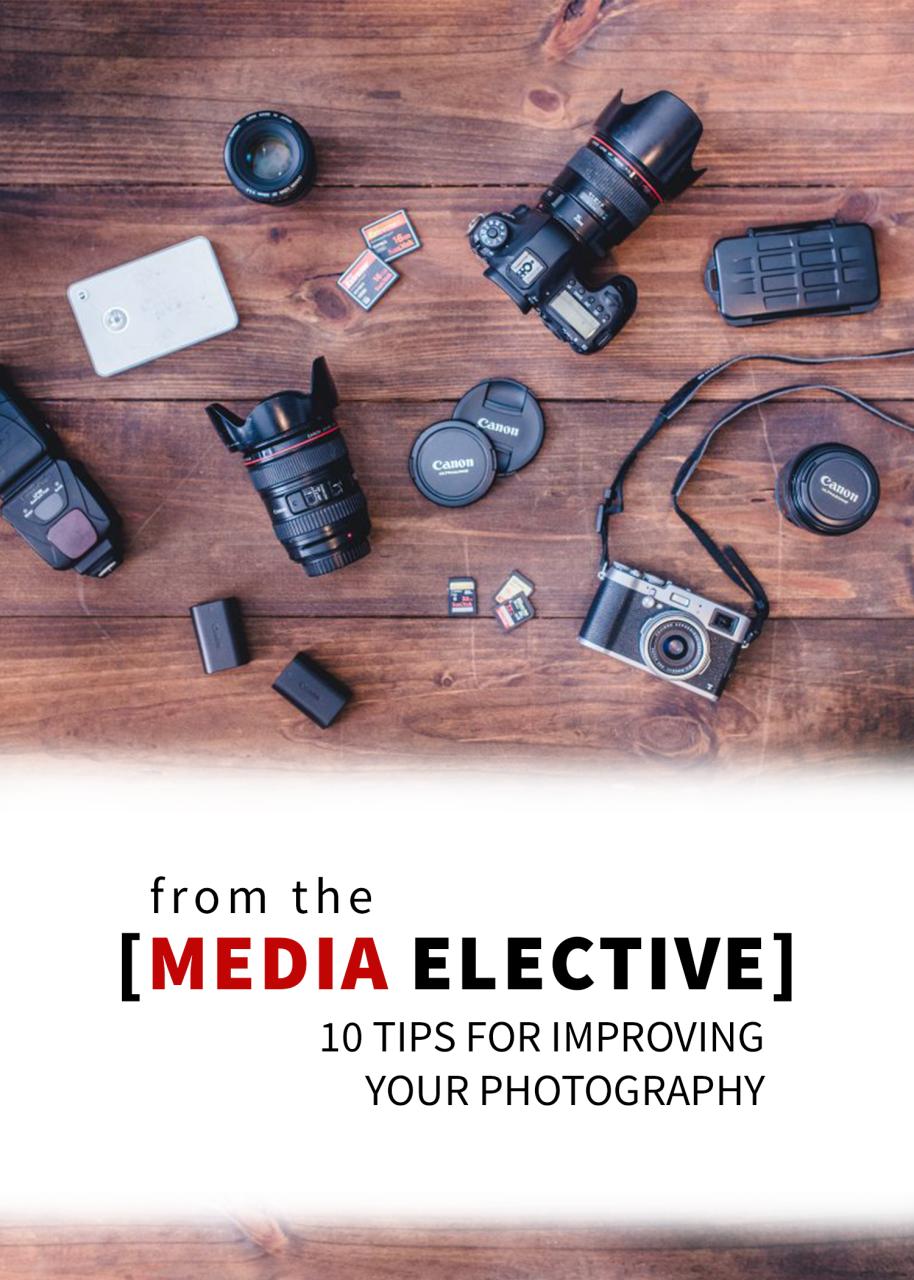
- Always have what you need and always be ready. Ensure that the batteries in the camera are fully charged. Carry spare batteries and an extra, empty memory card. Bring along a tripod. Prior to going anywhere with that new camera, make sure the camera bag you use is the right size and comfort for your equipment and your needs.
- Set the date and time on the camera. That information is stored invisibly on every image taken so be sure it's correct. Set the image quality as high as the camera allows. This simply means that all of the MP's (mega-pixels) that the camera advertises as having are being used. Remember, a lower quality image cannot be made better, but a higher quality image can be made into an enlargement. Turn off the camera's digital zoom. It may enlarge the image, but it also lowers the quality. Simply go into the Menu or Set-up to turn off the digital zoom. Turning off the digital zoom may require you to get closer to the image to get the right shot, but it's better to maintain quality. Explore all of the different camera settings.
- Using the shutter correctly. The shutter is the big button on the camera that is pressed to take a picture. Pressing it halfway down will set the exposure (light) and focus on the subject. Holding this button halfway down while targeting the next image can help get ready for that next shot. This is helpful if the camera has a short delay in-between snaps. Frame the subject and then press the shutter halfway down. Now move the camera to the left or right and snap the shot. The result? The subject is still in focus and the background is nicer and more creative! If the subject is lighter or darker than the background, place the subject in the center, press the shutter halfway down and hold. Next, re-frame the picture and snap away. Practice this and the results will be astounding.
- When and how to use the flash. Contrary to popular belief, here is the number one rule: if there is a lot of light, leave the flash ON. If there is not much light, turn the flash OFF. To turn the flash off, find the lightening bolt icon on the camera and set it to off. Scroll through the different flash options. Auto, Force Auto On, which makes the flash go off every time; Force Off, which keeps the flash off, and Red-Eye Reduction which generates several small flashes before the primary flash in order to help reduce red-eye. Remember that in bright light, there will be harsh shadows, so turn on the flash. This will minimize or eliminate any harsh shadows caused by bright sun. For night-time shots, do just the opposite. Turning the flash off equals a better photo.
- Framing the photo (composition). Always look and think before shooting. Avoid background distractions that will detract from the image. Check the edges and corner of the photo as seen through the LCD screen or the viewfinder. Check the direction in which the light is coming. Light coming from the side is better than light coming from behind. Avoid taking pictures in light that is directly in front of you.
- Close-ups. People, plants, flowers and pets provide for a powerful photograph when taken correctly. Use the camera's macro setting, which is represented by the little flower button. This setting allows you to get very close to the image.
- The camera can think so let it! Different settings may be challenging. Take full advantage of the scene modes that digital cameras offer. Most cameras have landscape, portrait, night, sports, and even underwater. By using the scene modes, the camera sets the aperture, shutter and flash for the specific situation.
- Best times to shoot. Most photographers agree that just after sunrise and just before sunset the light is at its best for taking pictures. Since not all light is the same and more light is not necessarily better, an hour on either side of the sunrise and sunset is best. To get a great silhouette during those times, turn off the flash and pose the subject. Then point the camera at the light in the sky and hold the shutter halfway down. Then point back to the subject and shoot. Voila! The result will be a magnificent silhouette.
- "Reading" different kinds of light. Cameras "read" different kinds of light differently. For example, a camera sees florescent light as green and light bulbs as orange. When the camera knows what kind of light you are in, the result is a great picture. So, tell the camera what type of light you're in by using the White Balance setting. Using this setting will ensure that things in the picture that are white appear white and not blue, green or orange.
- Be creative! Most photographs are taken from eye level. When preparing to take that next shot, look up, look down, look all around. Find a different angle. Create a different perspective. The reward will be better pictures.
It's important on so many levels to take advantage of the technology that digital photography offers. Taking pictures, providing a chronicle of life events, will preserve our history for future generations. Review each of the steps above as often as possible, from gathering the right equipment to understanding the camera settings to practicing as much as possible before that next big vacation or life event, and the result will be the best possible photographs.