How to Change Eye Color in a Photgraph with Photoshop
 How to change eye color in Photoshop.
Green, blue, brown, or all of the above? Being someone that works with Photoshop everyday, I've had so many people ask me how to change the color of their eyes in this picture or that picture using Photoshop. It's actually a relatively easy thing to do, just follow these steps:
– Create a new layer over your image.
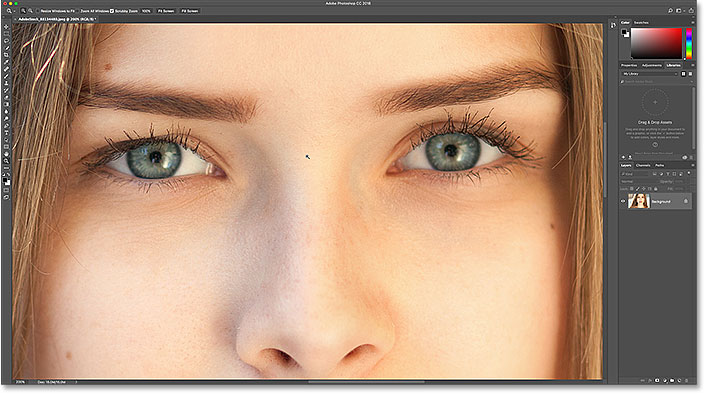
– Using the circular marquee tool, select an area around the eye color that you wish to change. You can select an area over the eye area and use the eraser tool later.
– Make sure that the color you want your eyes to be is the foreground color. If you haven't done that, click the foreground color to open the color picker and choose your desired color.
– Make sure your new and blank layer is selected. Fill your selection with the color by going to Edit >> Fill. Your eye should now be a solid color, like someone just dropped a colored ink blob on your image. Don't worry, we'll fix that up in one second. Deselect the area.
– Change you image layer mode to Overlay. You can do this by selecting the layer you filled and change the drop down menu in the layers tab from 'Normal' to 'Overlay'.
– Your eye should now be visible through the Overlay layer. It may be very saturated with color though, so you can adjust the Opacity slider in the layers tab down to about 30% or so (use your judgement). When you have the color you want your almost done.
– If you selected an area that extended beyond the area you wished to color just select the eraser tool and erase some of the color. Be sure to zoom in and don't use a brush to big and erase into the eye color you intend to keep. Of course, mistakes happen, so if you erase more then you needed to, just select the brush tool and the paint the color back on to the Overlay layer where you need it.
Voila, new eyes!