How to Create HDR Images with Photomatix Pro: Tutorial for Making High Dynamic Range Photographs on Mac or Windows
HDRSoft’s Photomatix Pro is a stand-alone application for creating HDR images. The program runs on Mac OS X and Windows 98/Me/2000/XP/Vista. Unlike Adobe Photoshop, Photomatix was designed specifically for processing HDR images. Photomatix Pro offers two advanced editing methods for handling blown out highlights and flat shadows:
- Exposure Blending: Merge several, differently exposed photographs into a single image with increased dynamic range. This method produces more realistic results.
- Tone Mapping: Reveals highlight and shadow details in a single HDR image created from multiple exposures. Tone mapped images are ready for printing while showing the scene’s complete dynamic range.
This tutorial is based on the Mac version of Photomatix Pro.
Step 1: Load Differently Exposed Photographs
After starting Photomatix Pro, select File > Open from the application menu. Select the images for processing and click Open.
Depending on your startup settings, Photomatix may display a Workflow Shortcut dialog box. If so, click on “Generate HDR Image” and select the appropriate files. Exposure Blending and Batch processing are other options available in the Workflow Shortcut window.
Photomatix Pro supports the following file types: JPG, TIFF, PSD, DNG and RAW formats from many different camera manufacturers.
Step 2 – Generate the HDR Image
The next window allows users to specify options for creating the HDR Image. It is best to check the “Align source images” checkbox to make sure objects in all images are properly lined up.
Two alignment methods are available:
- By correcting horizontal and vertical shifts: this option should be used when a tripod was used
- By matching features: this option works best for hand-held shots
After selecting the appropriate options, click Generate HDR to merge the photographs into a single HDR image.
Step 3 – Tone Mapping
The generated HDR image usually looks dark, with little detail. This is normal and happens because the HDR image cannot be properly represented on the computer screen without further processing.
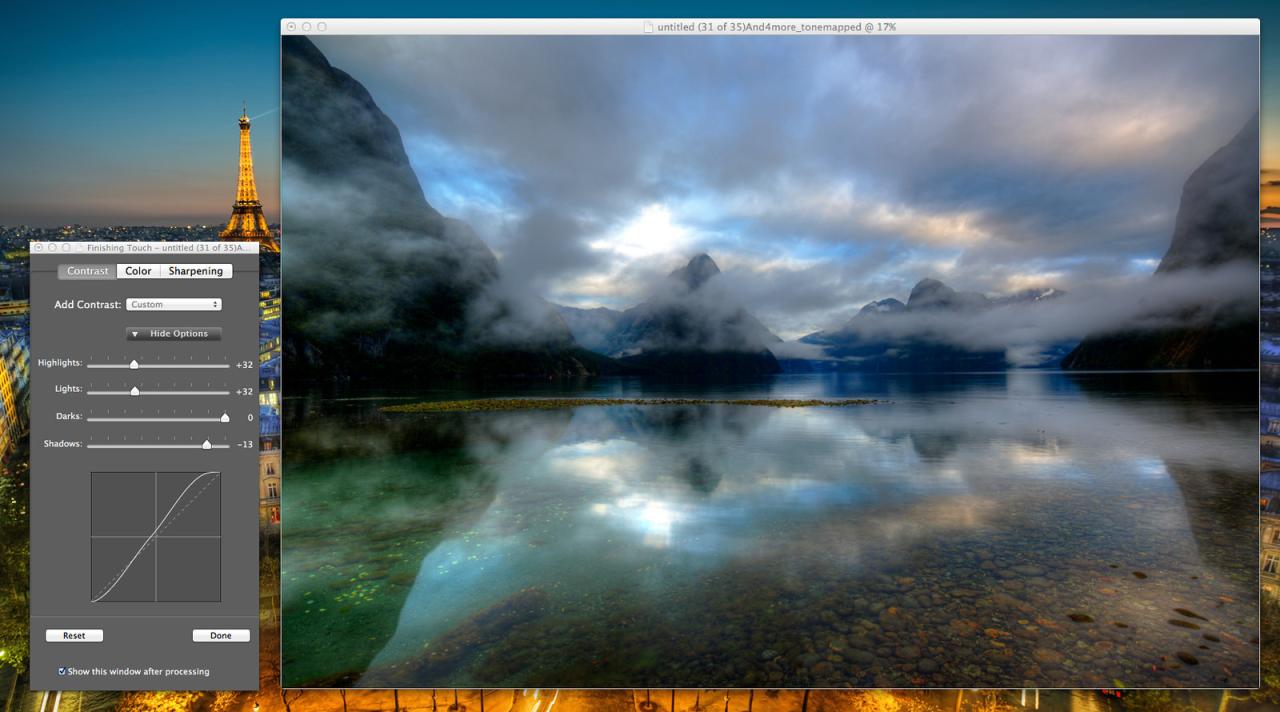
Normal digital photographs use discreet pixel values ranging from either 0-255 or 0-65535, but HDR image pixel values are represented by floating point numbers. To make the HDR image properly viewable, Photomatix Pro uses a conversion process called Tone Mapping to reveal details in the image’s highlights and shadows. Tone mapping converts the 32-bit HDR data into 16 or 8-bit values that can be saved as TIFF or JPG images.
Upon entering the Tone Mapping tool, Photomatix Pro uses default settings to make the image look more acceptable. By moving the different sliders on the Tone Mapping Settings palette, users can make appropriate adjustments which can be seen in real-time in the preview image.
At the top of the Tone Mapping Settings palette are two options:
- Details Enhancer: boosts shadow detail and creates a painting-like effect, but also makes noise artifacts more visible
- Tone Compressor: provides for a more photographic look, avoiding noise and halo effects
The main settings for Details Enhancer are: Strength, Color Saturation, Luminosity, Light Smoothing and Microcontrast. Below the histogram are other adjustment sections including: Tone settings, Color settings and Smoothing settings. Usage of these settings will vary depending on the scene and intended image output.
Settings for Tone Compressor are: Brightness, Tonal Range Compression, Contrast Adaptation, White Point, Black Point, Color Temperature and Color Saturation.
The Tone Mapping tool not only allows users to generate a viewable image, but also to create either normal representations or surreal effects.
When the desired adjustments have been completed, click Process and select the type of file for saving the finished HDR image.
Alternate Option – Exposure Blending
Options for Exposure Blending are much simpler than the Generate HDR image tool. Included with the Exposure Blending preview are a small set of controls to alter the blending method and adjust exposure settings. Once satisfied with the adjustments, click Process and select the type of file for saving the completed image.